Storage in Style
Okay, everyone has done this at least once in their life- or maybe they still do? Let's face it, I know you have some clutter under that bed of yours! Remember those childhood days when Mom used to make you clean your room-but what do you do?-you shove the whole shebang under your bed. So why don't I help you with that? The images below are just a few creative design solutions for storage.
Happy cleaning!
Below images from Bhg.com

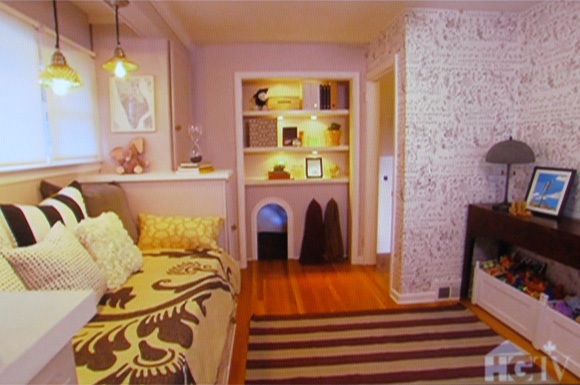
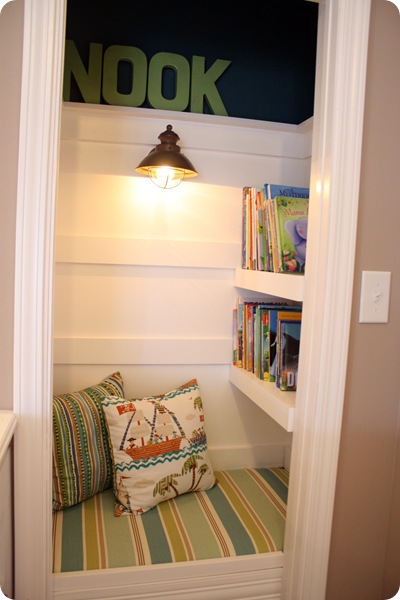
Install shelves to store your book collection or kid's toys.

Buy boxed frames from just about any home decor shop and line the
back with wrapping paper, scrap booking paper,etc.

Add shelving above a desk to make use of the space you have.

Adding shelves that line your walls is a great way to use the space you have while
adding ALOT of storage.
____________________________
Okay, so you may be thinking, well I don't have all day, or, where am I going to find the space let alone the money? Well, it's actually PRETTY easy... shelves cost little to nothing when you know where to buy them. Places like ikea.com and target.com have great shelves for affordable prices. However, you could also go a different route- make the shelves yourself! Buy scraps of wood at a warehouse like Homedepot.com and get some vintage brackets(Anthropologie.com always has cute ones) for a cheap alternative.
See below for images.
____________________________
Brackets
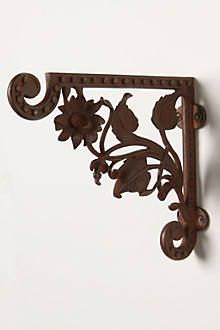


$22-$24